Cleaning your dog’s ears is an essential part of grooming that many pet owners overlook. While it might seem like a simple task, improper ear cleaning can lead to serious health problems, such as ear infections or irritation. Dogs, especially those with floppy ears or long hair, are more prone to ear issues, so regular cleaning can help maintain ear health and prevent discomfort. In this article, we’ll guide you through how to clean your dog’s ears safely and effectively while avoiding common mistakes that could lead to health complications.
Why Is It Important to Clean Your Dog’s Ears?
Regular ear cleaning is important for several reasons:
- Prevent Ear Infections: Moisture, dirt, and wax can build up in your dog’s ears, creating an environment where bacteria and yeast thrive, leading to infections.
- Remove Debris: Dogs can accumulate dirt, dust, and pollen in their ears, especially if they spend time outdoors. Cleaning helps remove these irritants.
- Minimize Odors: Dirty ears can develop a strong, unpleasant smell, often due to bacteria or yeast infections.
- Prevent Allergies: Allergies can lead to itchy ears, and excessive scratching or head shaking might result in injury or infection if not properly addressed.
When Should You Clean Your Dog’s Ears?
Not all dogs require frequent ear cleaning. It largely depends on the breed, environment, and individual health conditions. Generally, you should clean your dog’s ears if:
- You notice an unpleasant odor coming from the ears.
- Your dog is scratching their ears or shaking their head frequently.
- Your dog has visible dirt or wax buildup in their ears.
- You’ve been advised to do so by your vet, especially if your dog has an underlying condition like allergies or ear infections.
Breeds like Cocker Spaniels, Basset Hounds, and any dog with floppy ears are more prone to ear issues, making ear cleaning more important. On the other hand, dogs with upright ears, like German Shepherds or Huskies, may require less frequent cleaning.
What You’ll Need for Cleaning
Before you start cleaning your dog’s ears, gather the following items:
- Ear cleaner: Choose a veterinarian-approved ear cleaning solution that is safe for dogs. Avoid using hydrogen peroxide, alcohol, or vinegar, as these can irritate the ear canal and cause discomfort.
- Cotton balls or gauze pads: Use soft, gentle materials to wipe away dirt and wax.
- Towels: Have towels on hand to wipe off any excess cleaner or to catch any mess.
- Treats: It’s always a good idea to have some treats ready to reward your dog after the cleaning process.
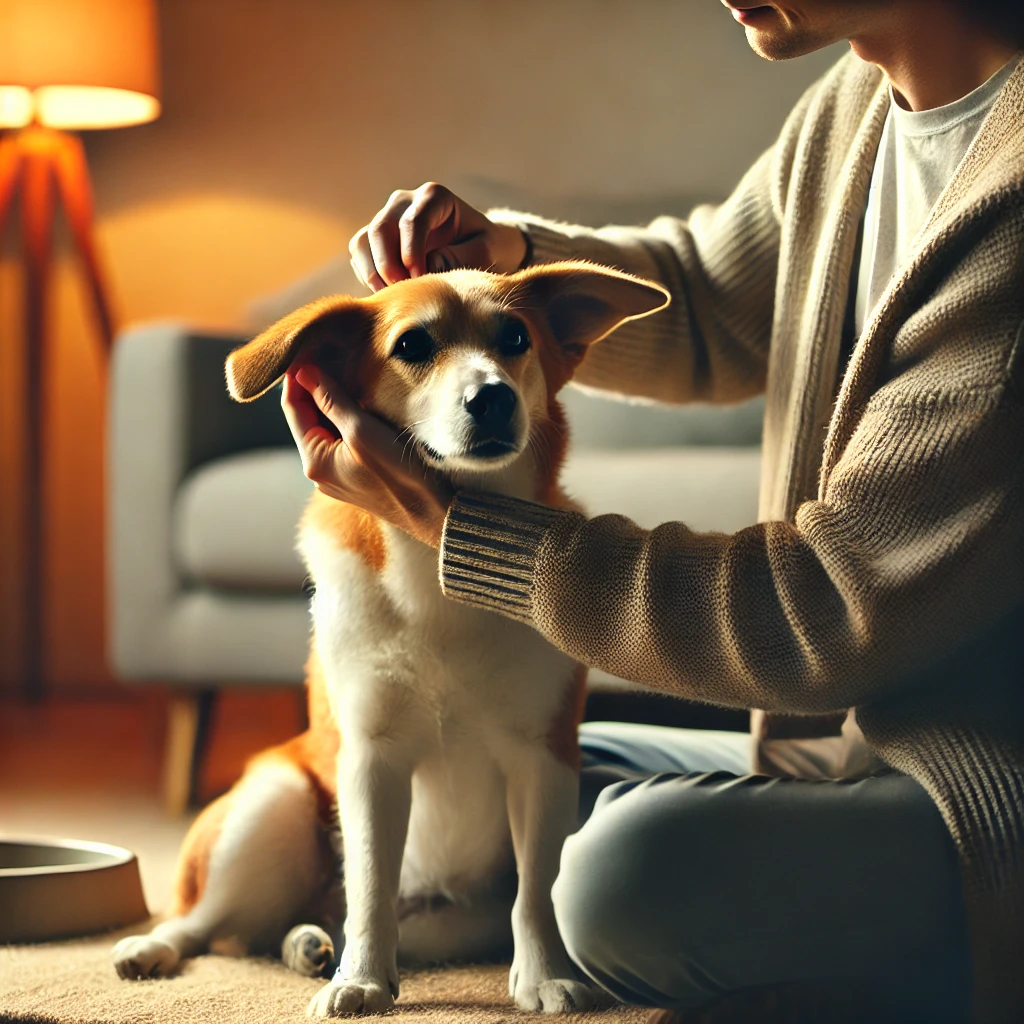
How to Clean Your Dog’s Ears Safely
Now that you have everything ready, follow these steps to clean your dog’s ears without causing harm:
1. Get Your Dog Comfortable
Start by making sure your dog is calm and comfortable. Some dogs may be sensitive about having their ears touched, so it’s important to create a stress-free environment. You can try cleaning their ears after a play session or walk when they are tired, or offer them treats to make the process more enjoyable.
- Choose a quiet space: Make sure you’re in a quiet area where your dog won’t be distracted or nervous.
- Have someone help if needed: If your dog is anxious or fidgety, it can help to have someone assist you by holding your dog still or offering treats to keep them calm.
2. Examine the Ears
Before applying any cleaner, take a moment to visually examine your dog’s ears. Check for:
- Redness: Red or inflamed ears can indicate an infection or irritation.
- Excessive wax: While some wax is normal, an overabundance can lead to infections.
- Unusual odor: A foul smell often signals an infection.
- Discharge or crust: Any discharge, especially if it’s green or yellow, may be a sign of infection.
If you notice any of these issues, it’s best to consult your vet before proceeding with cleaning.
3. Apply the Ear Cleaner
Once you’ve examined the ears, you can proceed with applying the ear cleaner. Follow the instructions on the bottle, but here’s a general guide:
- Gently lift the ear flap to expose the ear canal.
- Squeeze the ear cleaner into the ear canal. Be careful not to insert the nozzle too deeply. A small amount of cleaner is usually enough to help loosen debris.
- Massage the base of the ear: After applying the cleaner, gently massage the base of the ear for about 20-30 seconds. This helps distribute the solution and loosen any wax or debris inside the canal.
4. Wipe the Ear Clean
Once the cleaner has been massaged in, use a cotton ball or gauze pad to gently wipe the inside of the ear. Do not use cotton swabs (Q-tips) to clean the ear canal, as they can push debris further in and potentially cause injury.
- Wipe away any excess cleaner, wax, or dirt from the ear flap and the visible part of the ear canal.
- Avoid going too deep into the ear canal: Only clean the parts you can easily see. Inserting objects too deeply into the ear can cause damage to the ear canal or eardrum.
5. Dry the Ear
If your dog’s ears are particularly moist, you may want to gently dry them after cleaning. Use a soft, dry cotton ball or a towel to absorb any excess moisture. This is especially important for dogs prone to ear infections, as moisture can promote bacterial or yeast growth.
6. Reward Your Dog
Ear cleaning can be an uncomfortable experience for some dogs, so it’s essential to reward your dog afterward. Offering them a treat and plenty of praise will help them associate the process with something positive, making future cleanings easier.
Things to Avoid When Cleaning Your Dog’s Ears
While cleaning your dog’s ears is essential, it’s crucial to avoid certain mistakes to ensure you’re doing it safely:
- Avoid using cotton swabs (Q-tips): Inserting cotton swabs into your dog’s ear canal can cause injury, push wax further in, or even rupture the eardrum.
- Don’t use harsh chemicals: Avoid using hydrogen peroxide, alcohol, or vinegar to clean your dog’s ears. These substances can be irritating and cause more harm than good.
- Never force the process: If your dog becomes too stressed or resistant, stop the cleaning process and try again later. Forcing it can lead to negative associations, making it harder to clean their ears in the future.
Signs That You Should Visit the Vet
While cleaning your dog’s ears is an important part of grooming, there are times when you should consult a vet instead of attempting to clean the ears yourself. Visit your vet if:
- Your dog has frequent ear infections or persistent discomfort despite regular cleaning.
- You notice a significant amount of discharge, especially if it’s green, yellow, or bloody.
- Your dog’s ear canal is swollen, inflamed, or excessively red.
- Your dog is shaking their head or scratching their ears excessively.
Conclusion
Cleaning your dog’s ears is a vital part of maintaining their overall health and hygiene. By following these steps, you can ensure that you’re cleaning your dog’s ears safely without causing any harm. Regular ear cleaning can prevent infections, reduce odors, and keep your dog comfortable. Always be gentle, use the right products, and consult your vet if you notice any signs of infection or irritation. With the proper care, your dog’s ears will stay healthy and odor-free.